What is SSH?
SSH (Secure Shell) is a cryptographic protocol for securely connecting to remote systems. It establishes an encrypted channel between the client and the server to protect communications against interception. Despite its secure design, an insufficient default configuration exposes infrastructures to significant risks: unauthorized access, brute force attacks, privileged account compromise and vulnerability exploitation.
Recommendations
Back up the default configuration
When hardening SSH, save your original configuration and make sure to test each change in a test environment before deploying to production. A misconfiguration can result in losing access to the server.
Important: Any change to the sshd_config file requires restarting the SSH service to take effect. Before closing your current session, always test the connection from a new window to avoid locking yourself out.
sudo systemctl restart sshd
sudo systemctl status sshd # Check statusRestart-Service sshd
Get-Service sshd # Check statusDisable direct root access
Allowing direct root login makes it easier to achieve full system compromise. An attacker who obtains the root password via brute force or a data leak immediately gains maximum privileges. Disabling direct root access forces privilege escalation after connection (via sudo or su), which leaves a trace in the logs and adds a layer of protection.
sudo nano /etc/ssh/sshd_configPermitRootLogin noEnforce public key authentication
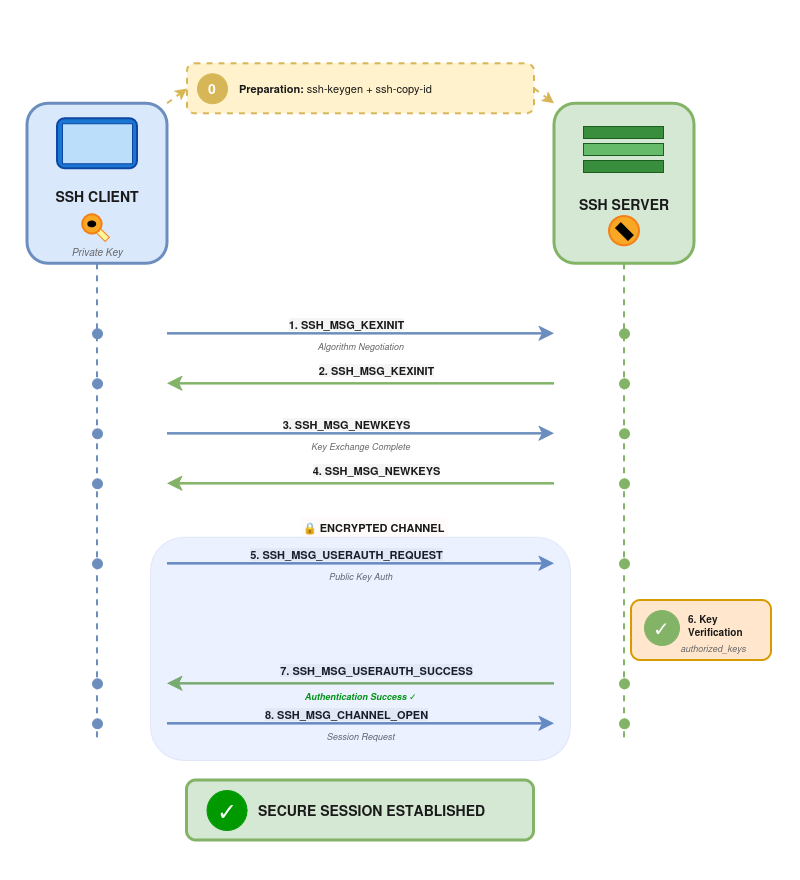
Password authentication is vulnerable to brute force and dictionary attacks. Botnets constantly scan the internet for open SSH ports and attempt thousands of password combinations. Public key authentication completely eliminates this attack vector by requiring possession of the private key, making brute force attempts ineffective.
ssh-keygen -t ed25519 -C "user@company.com"ssh-keygen -t rsa -b 4096 -C "user@company.com"ssh-copy-id -i ~/.ssh/mykey user@serverAlternatively, you can add the key directly to the target user's authorized_keys file.
PasswordAuthentication no
PubkeyAuthentication yes
ChallengeResponseAuthentication no
Forbid empty passwords
Even if password authentication remains temporarily enabled (transition phase), it is essential to ensure no account has an empty password. An account without a password is a trivially exploitable open door for an attacker.
PermitEmptyPasswords noLimit authorized users
Allowing all user accounts (including local accounts) to connect via SSH unnecessarily increases the attack surface. By explicitly defining which users or groups can use SSH, you reduce potential targets and limit the impact of an account compromise.
AllowUsers admin1 admin2
AllowGroups ssh-users  # or to allow an entire group
The directives AllowUsers, DenyUsers, AllowGroups, and DenyGroups are processed in that order.
Change the default port
Leaving SSH on port 22 exposes the service to automated scans. While this is not strong protection against a determined attacker, changing the port drastically reduces the noise from automated attempts and saturated log files.
#Port 22
Port 2222
Important: remember to allow the new port in your firewall (iptables, ufw, Windows Firewall). Test the connection on the new port before closing your current session.
ssh -p 2222 user@serverUse SSH protocol version 2 only
SSHv1 contains known cryptographic flaws that allow man-in-the-middle attacks and decryption. SSHv2 fixes these vulnerabilities and is now the standard. This directive is often already set by default on recent systems, but it is important to verify it.
Protocol 2Strengthen cryptographic algorithms
Obsolete or weak encryption algorithms (MD5, SHA1, DES, 3DES) can be broken by attackers with sufficient resources. By restricting SSH to modern, robust algorithms, you ensure that even an attacker intercepting traffic cannot decrypt it.
KexAlgorithms curve25519-sha256,curve25519-sha256@libssh.org,diffie-hellman-group-exchange-sha256
Ciphers chacha20-poly1305@openssh.com,aes256-gcm@openssh.com,aes128-gcm@openssh.com,aes256-ctr,aes192-ctr,aes128-ctr
MACs hmac-sha2-512-etm@openssh.com,hmac-sha2-256-etm@openssh.com,hmac-sha2-512,hmac-sha2-256
Configure session timeouts
Idle SSH sessions represent a security risk. An administrator who left a session open on an unlocked workstation exposes their privileges. Timeouts force disconnection of idle sessions, limiting this window of opportunity for an attacker.
The server sends a message to the client every ClientAliveInterval seconds. If no response is received after ClientAliveCountMax attempts, the connection is closed.
ClientAliveInterval 300
ClientAliveCountMax 2
In this example, an idle session will be disconnected after 10 minutes (300 seconds × 2 attempts).
Deploy Fail2Ban (Linux)
Despite all protections, repeated failed connection attempts can saturate logs and consume resources. Fail2Ban analyzes SSH logs and automatically bans (via iptables) IP addresses showing malicious behavior, blocking brute force attacks in real time.
sudo apt install fail2ban  # Debian/Ubuntu
sudo yum install fail2ban # RHEL/CentOS[sshd]
enabled = true
port = 2222
filter = sshd
logpath = /var/log/auth.log
maxretry = 3
bantime = 3600
findtime = 600This configuration bans for 1 hour any IP that has failed 3 connection attempts within 10 minutes.
sudo systemctl enable fail2ban
sudo systemctl start fail2ban
Additional information
Even with all the SSH configurations above, exposing the service to the entire internet remains risky. Restricting SSH access to trusted IP addresses only (VPN, internal networks, fixed administration addresses) drastically reduces the attack surface.
SSH key authentication greatly improves security, but it does not protect against all scenarios. A private key can be compromised (laptop theft, client workstation compromise). Adding a second authentication factor via MFA — using Google Authenticator, YubiKey or similar — can therefore prove valuable.
For highly sensitive environments, consider using SSH bastions (jump hosts) to centralize and control all remote access.
Need a security audit or tailored cybersecurity support?
Explore our services →